
MIDI-controller-modz
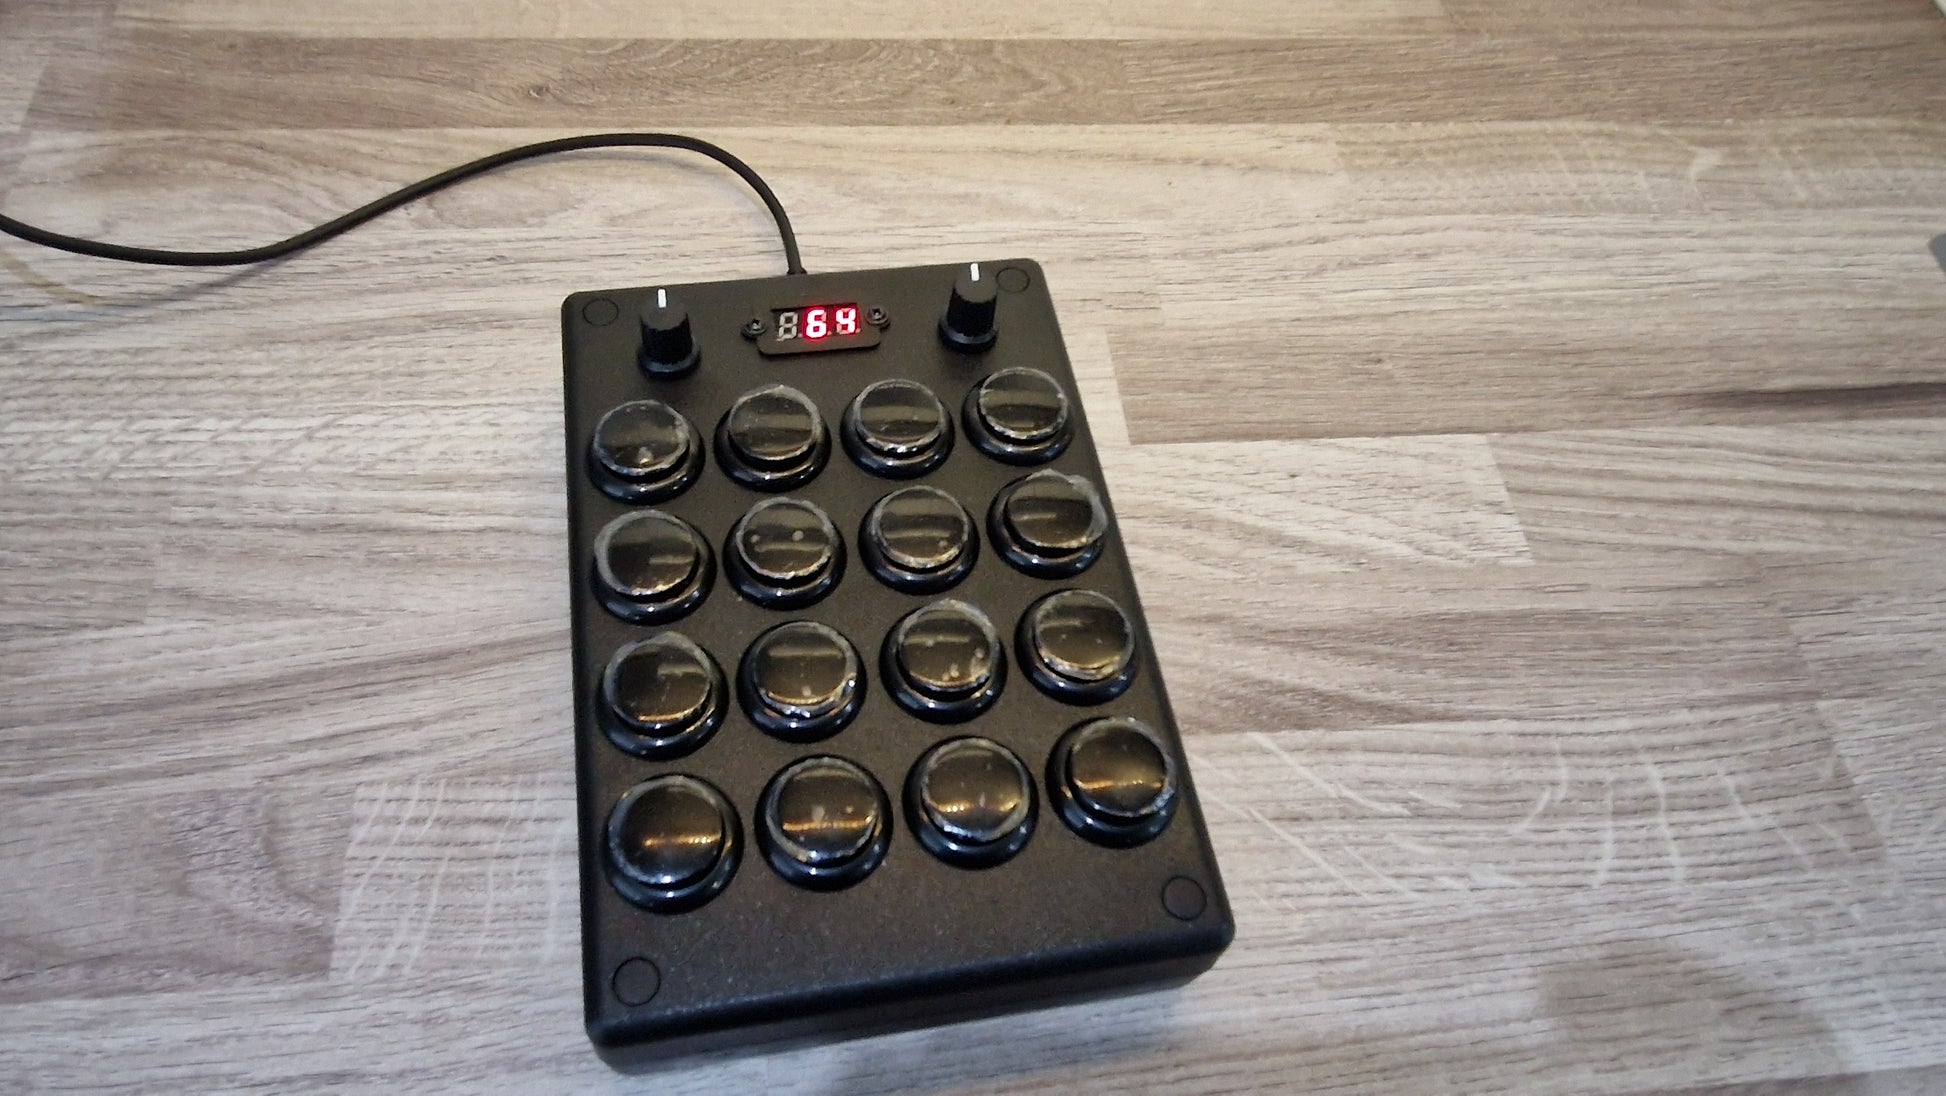
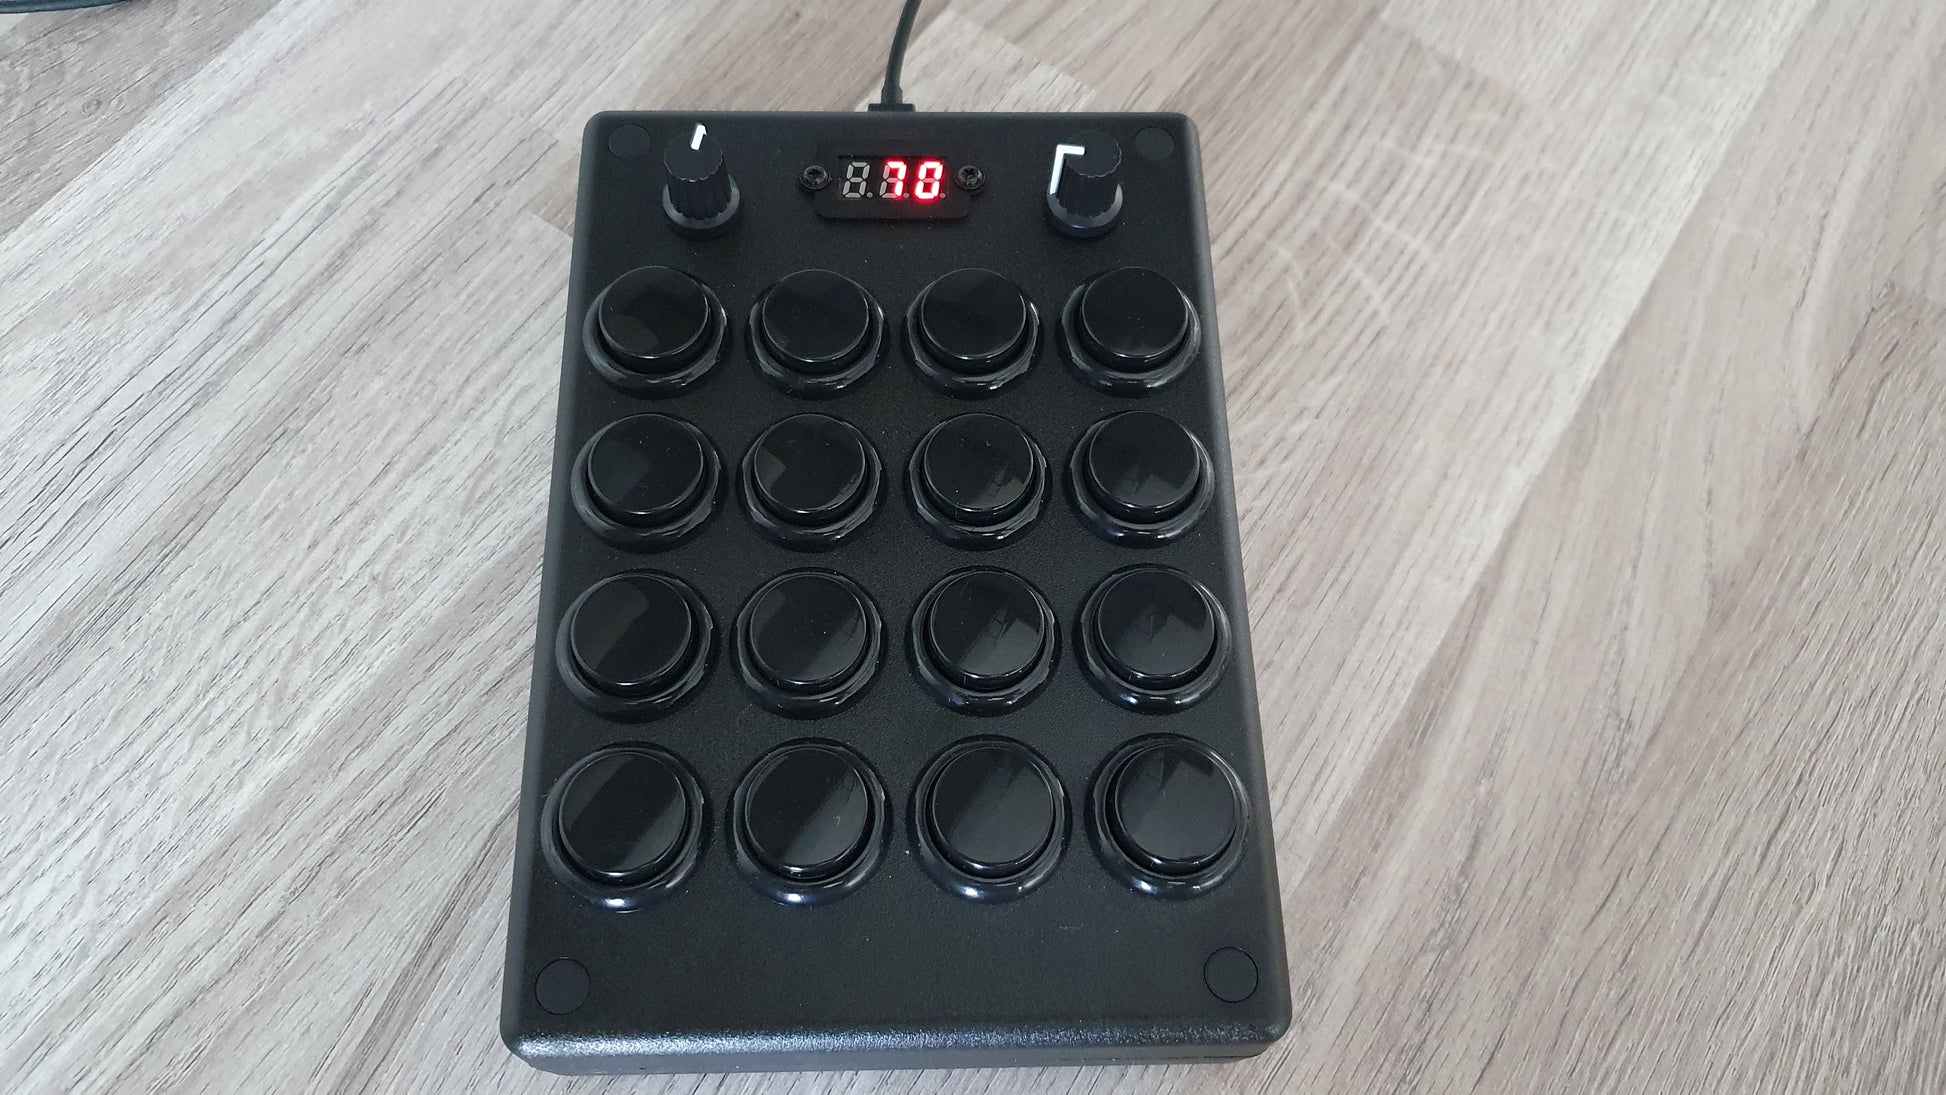
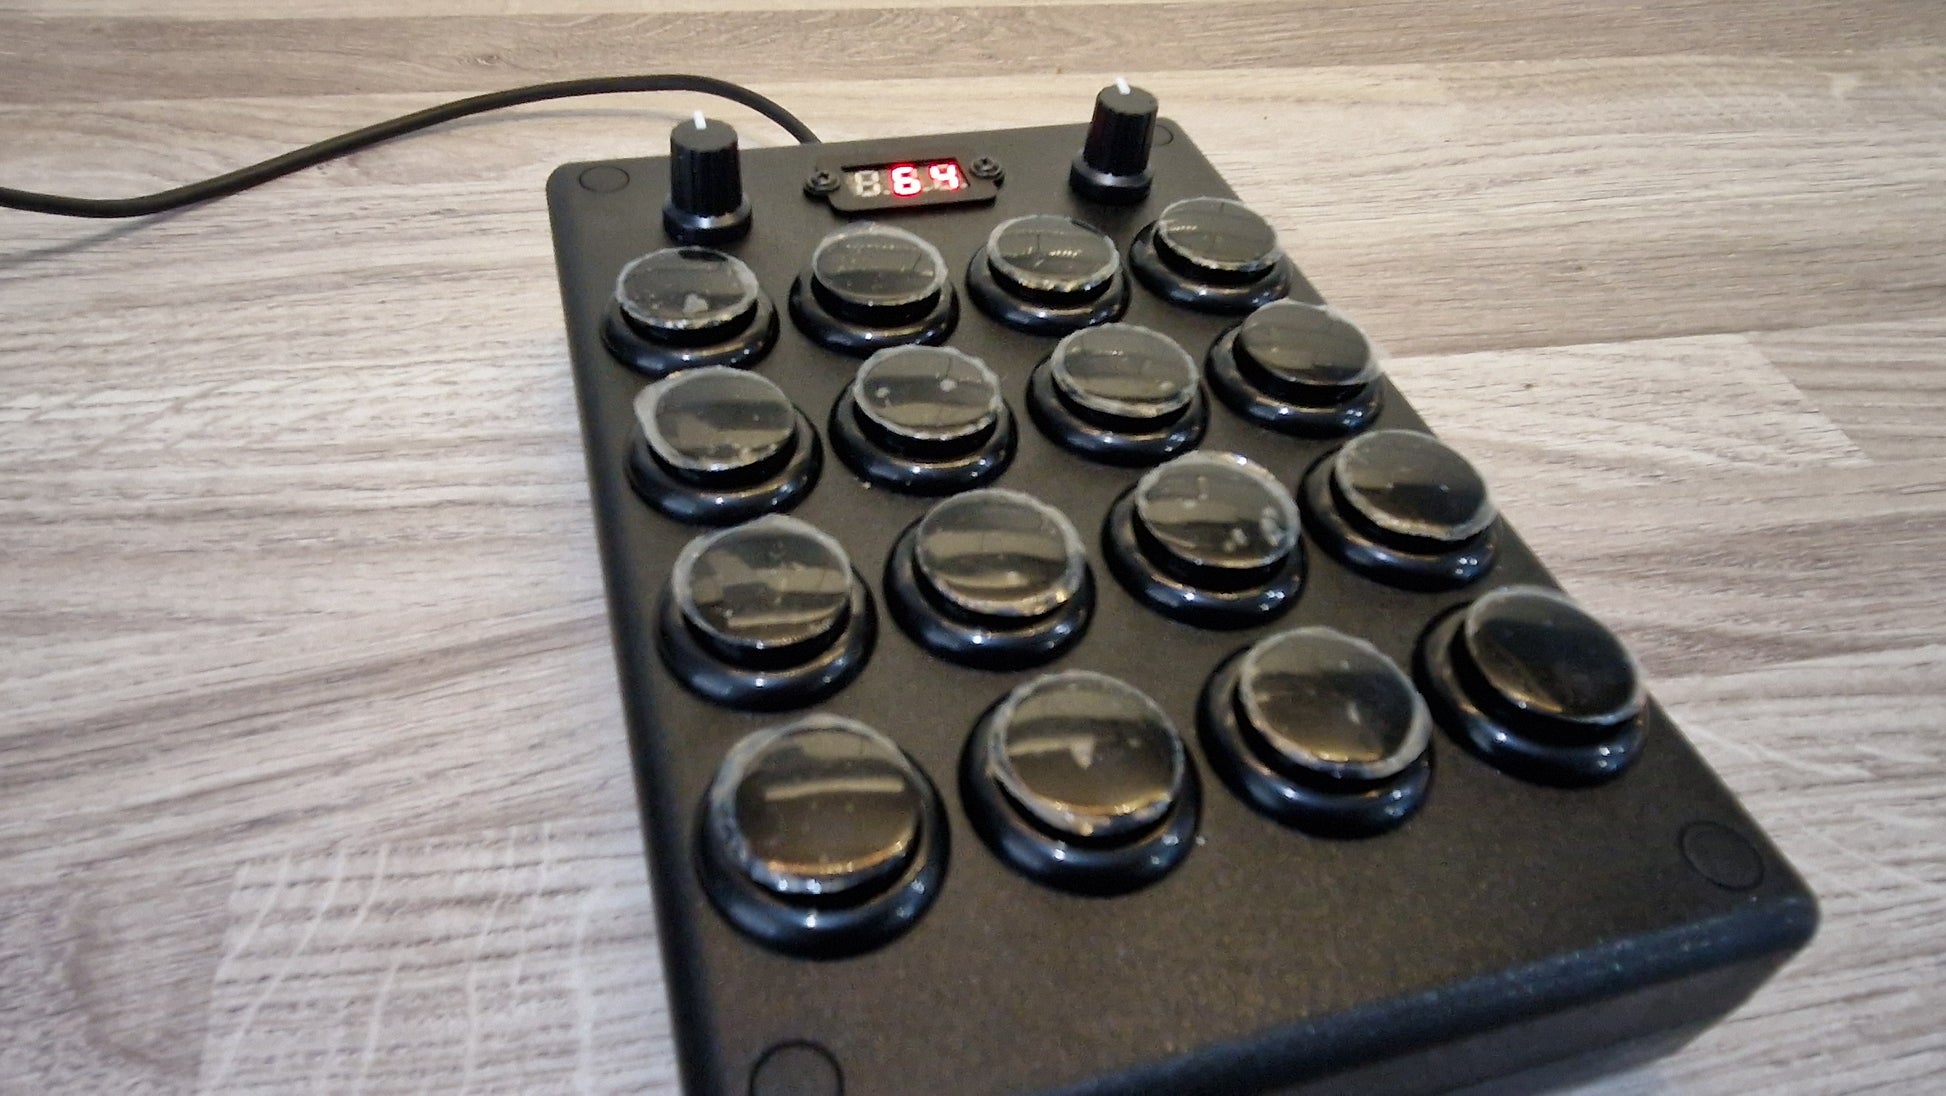
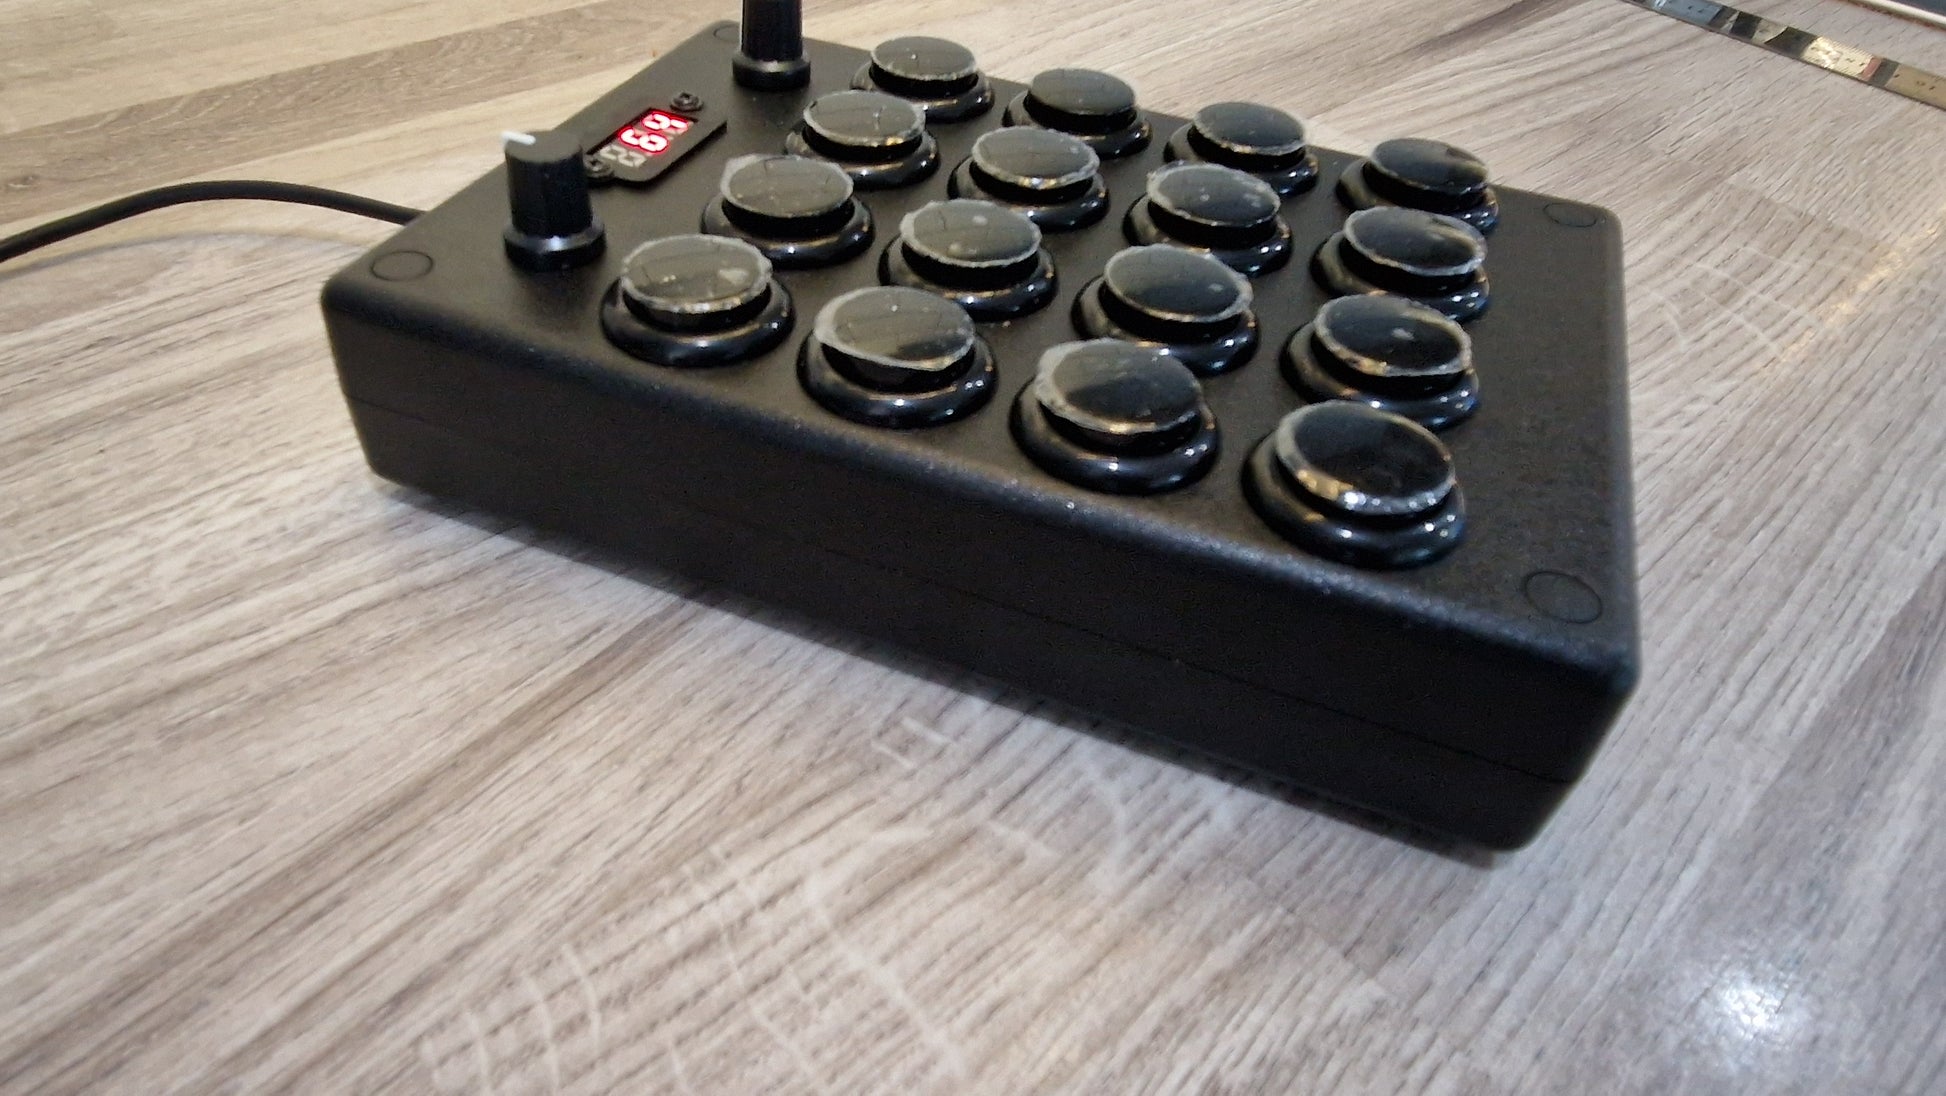
16 Button 2 Knob USB AND DIN MIDI controller
16 Button 2 Knob USB AND DIN MIDI controller
UK shipping £5. Europe £10. USA £15. Rest of World £15
Customs Tax is not included in the price and will be collected by customs
Low stock: 1 left
Couldn't load pickup availability
Share
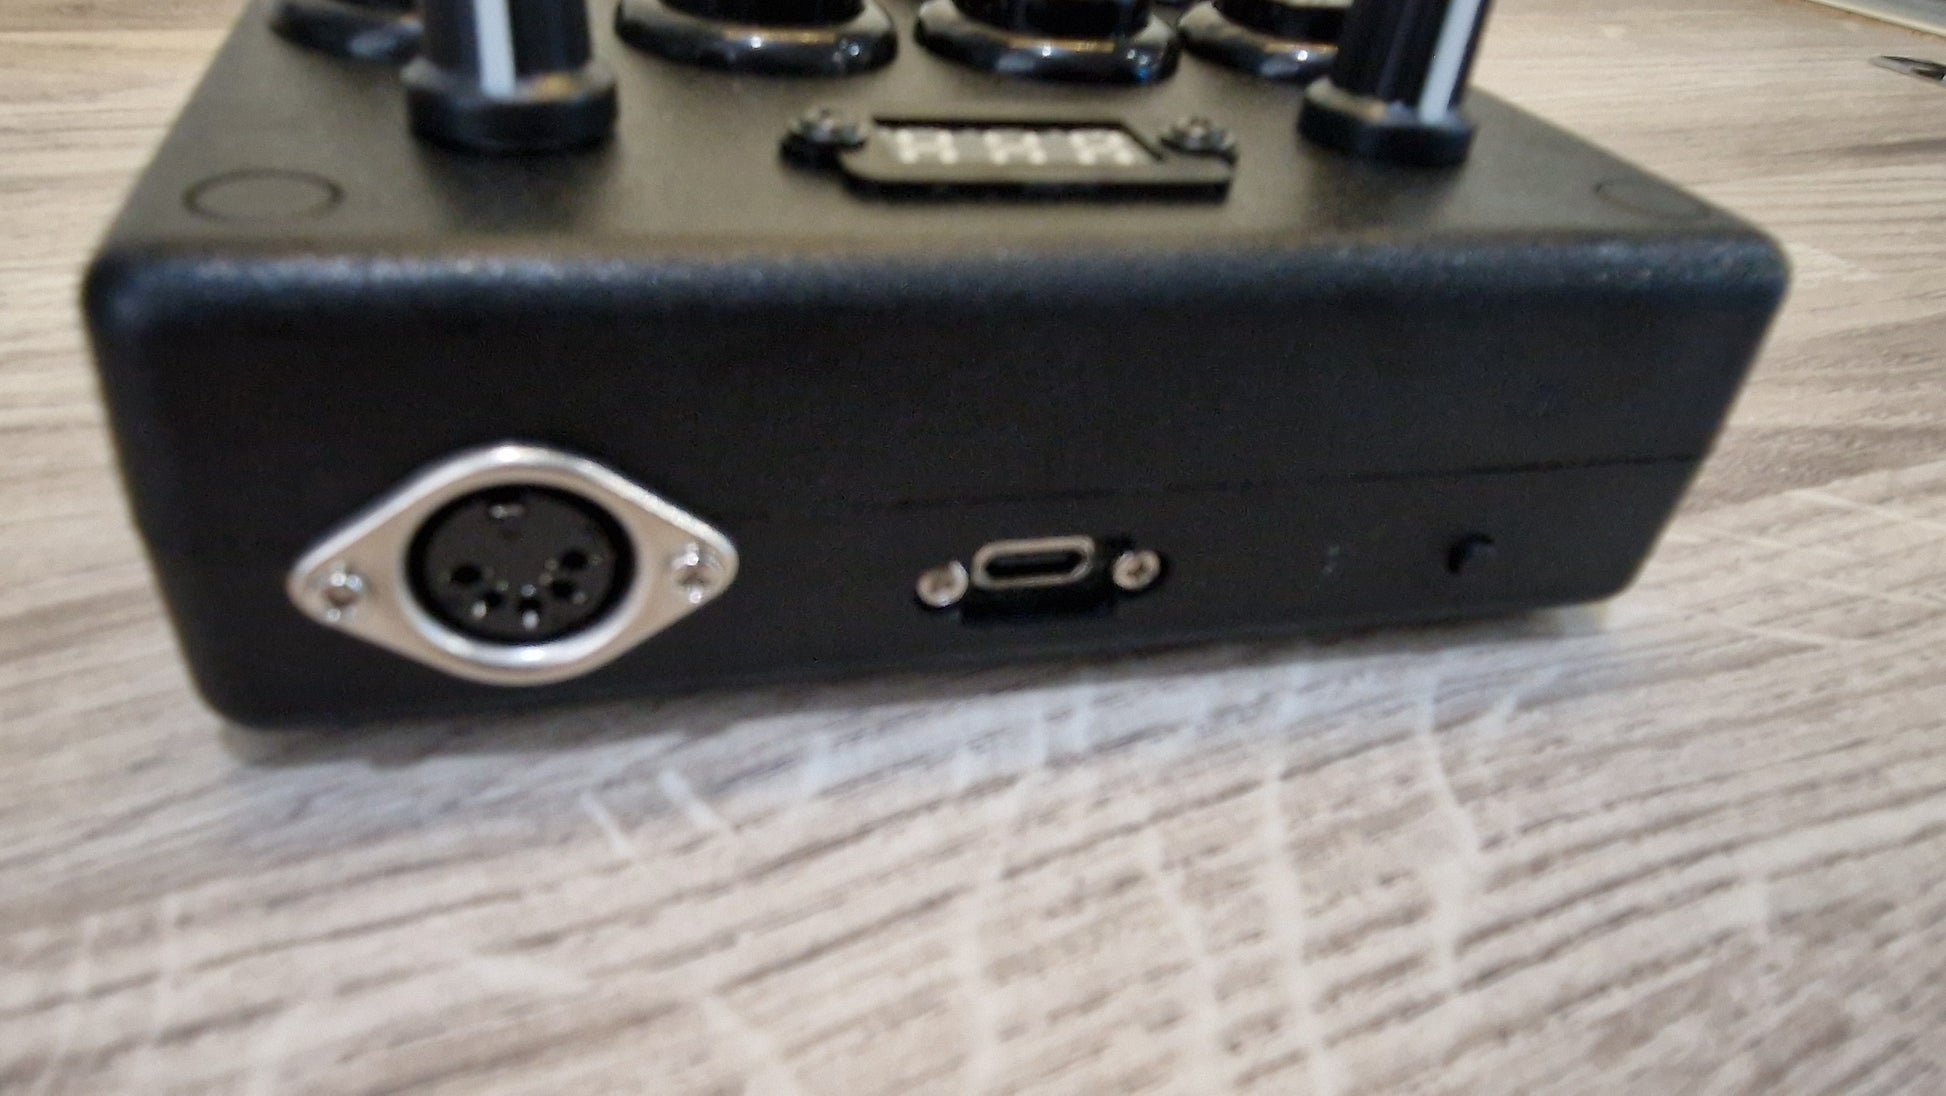
Detachable Type-C USB connection
(2m Type-C to Type-A cable included).
The knobs are potentiometers and are the version that stop (only turn 270 degrees 7 to 5 o’clock)
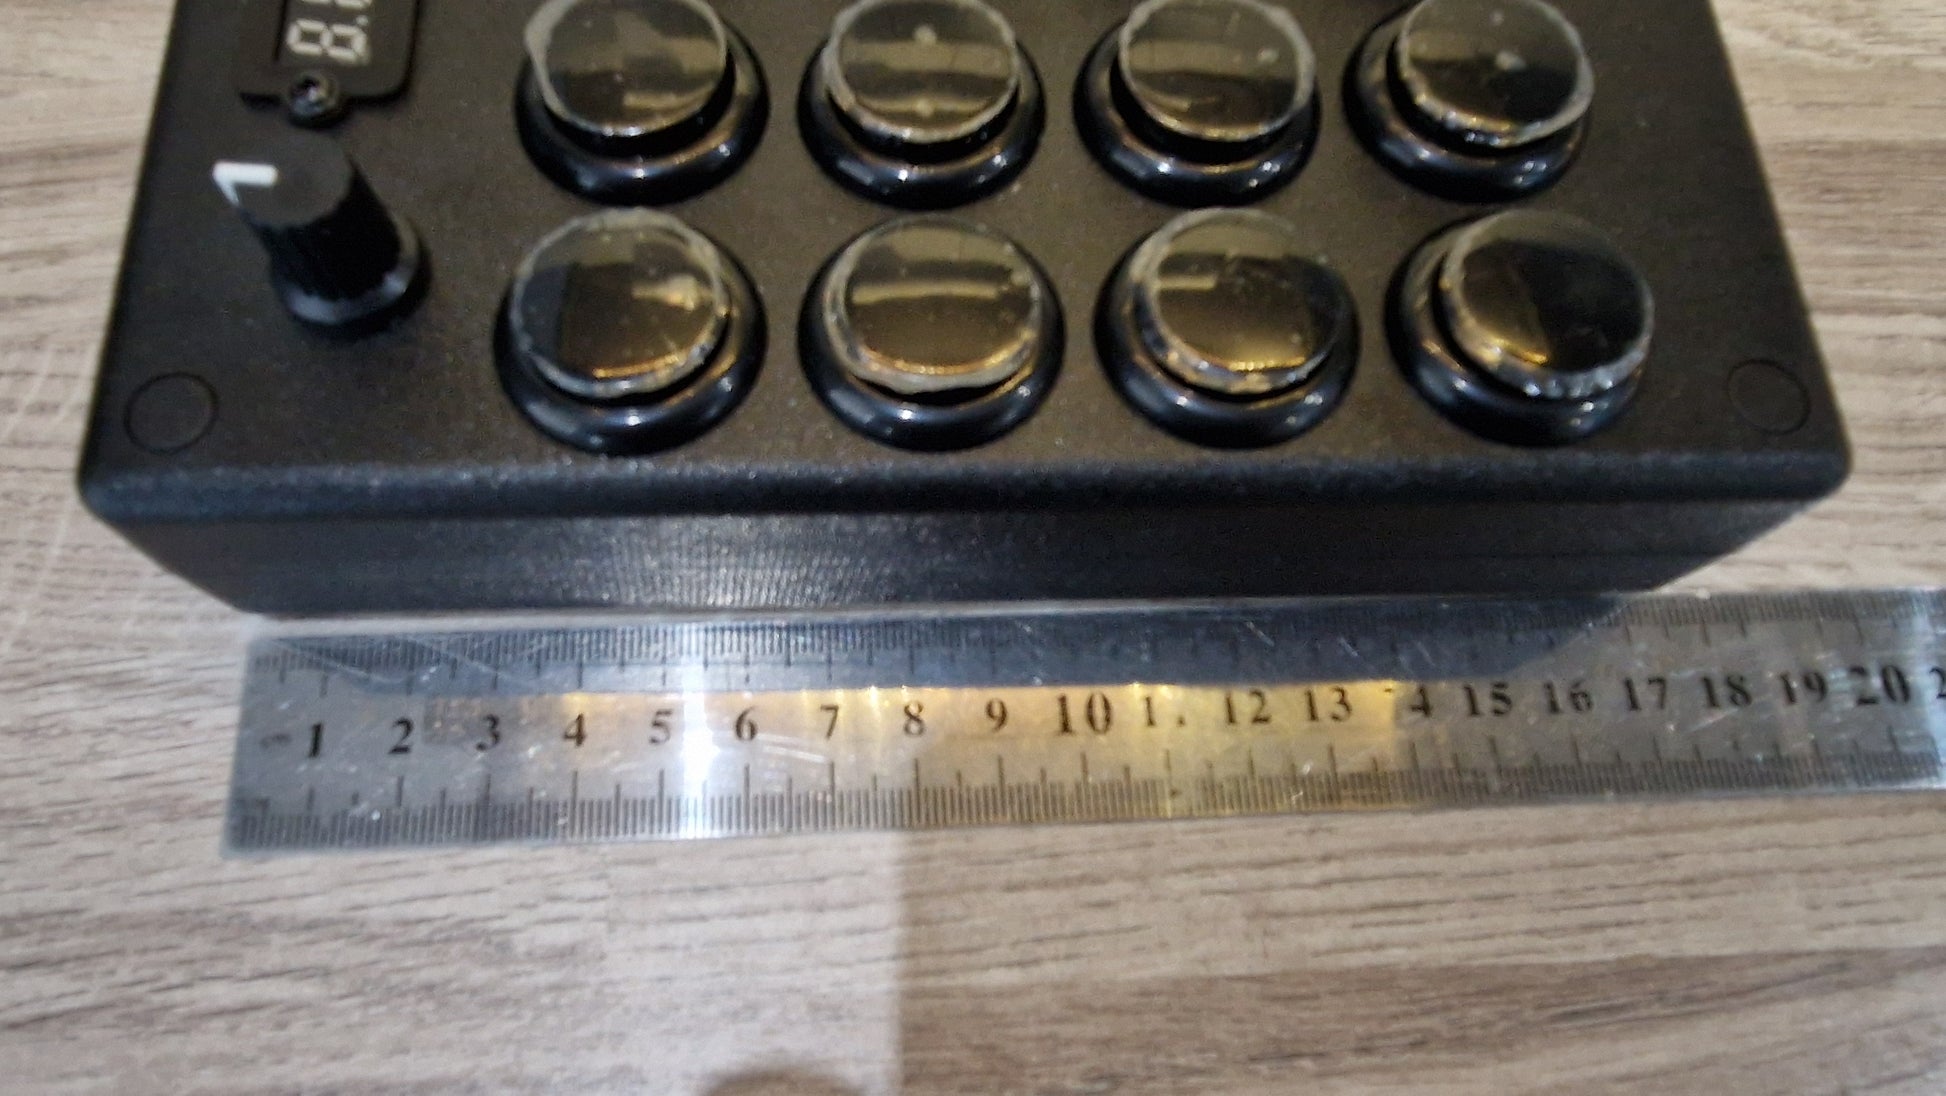
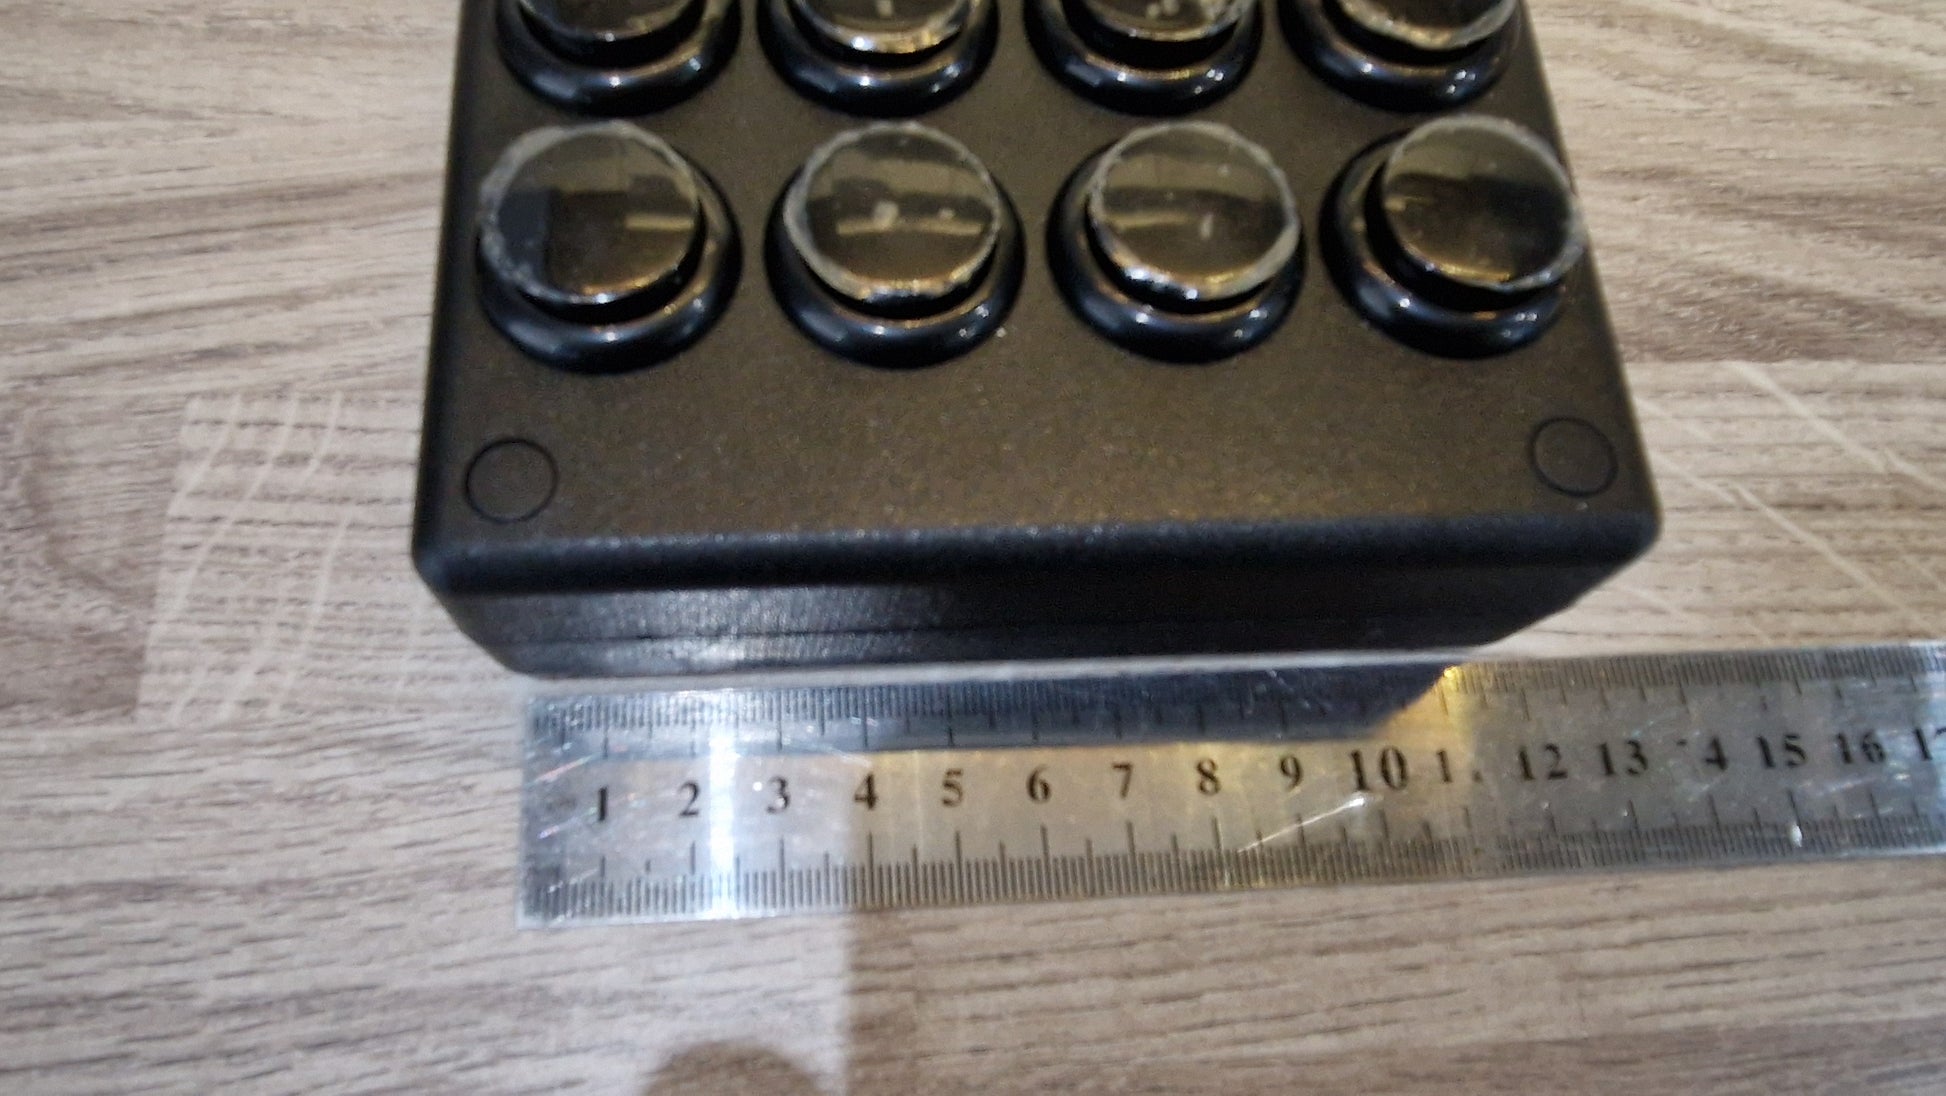
The buttons are know as "24mm arcade buttons" but the button part that you press is 19mm,
the actual size of the button including the plastic around it is 27mm.
The 16 buttons can be programmed when pressed to send either control change messages 1 to 127, program change messages 1 to 127 or MIDI note on /off message notes 1 to 127.
when a button is pressed the display will show the button message value 1 to 127.
The buttons can be set to Toggle or Momentary mode
The knobs when turned send control change messages and the display shows the output value.
The MIDI channel of the controller can be set from 1 to 16 or each knob and buttons can each be set individually to different channels
All changes are done using the display and small button located on the back of the box no extra software is needed
The knobs and buttons can be MIDI learn/mapped in your DAW software or used with hardware that responds to control change messages and program change commands
The Program change value is 0 to 127 some devices see this as 1 to 128
The control change ON value is 0 and the OFF value is 127
The USB Cable is also needed to power the unit when only using the DIN socket and needs to be plugged into a USB port/power hub or plug socket (phone charger plug).
The controller Can be used to control Ableton Live and other DAW software that allows MIDI learn/mapping, and also most device that uses MIDI CC's
will not work with VirtualDJ
Instructions on how to program the controller are below.

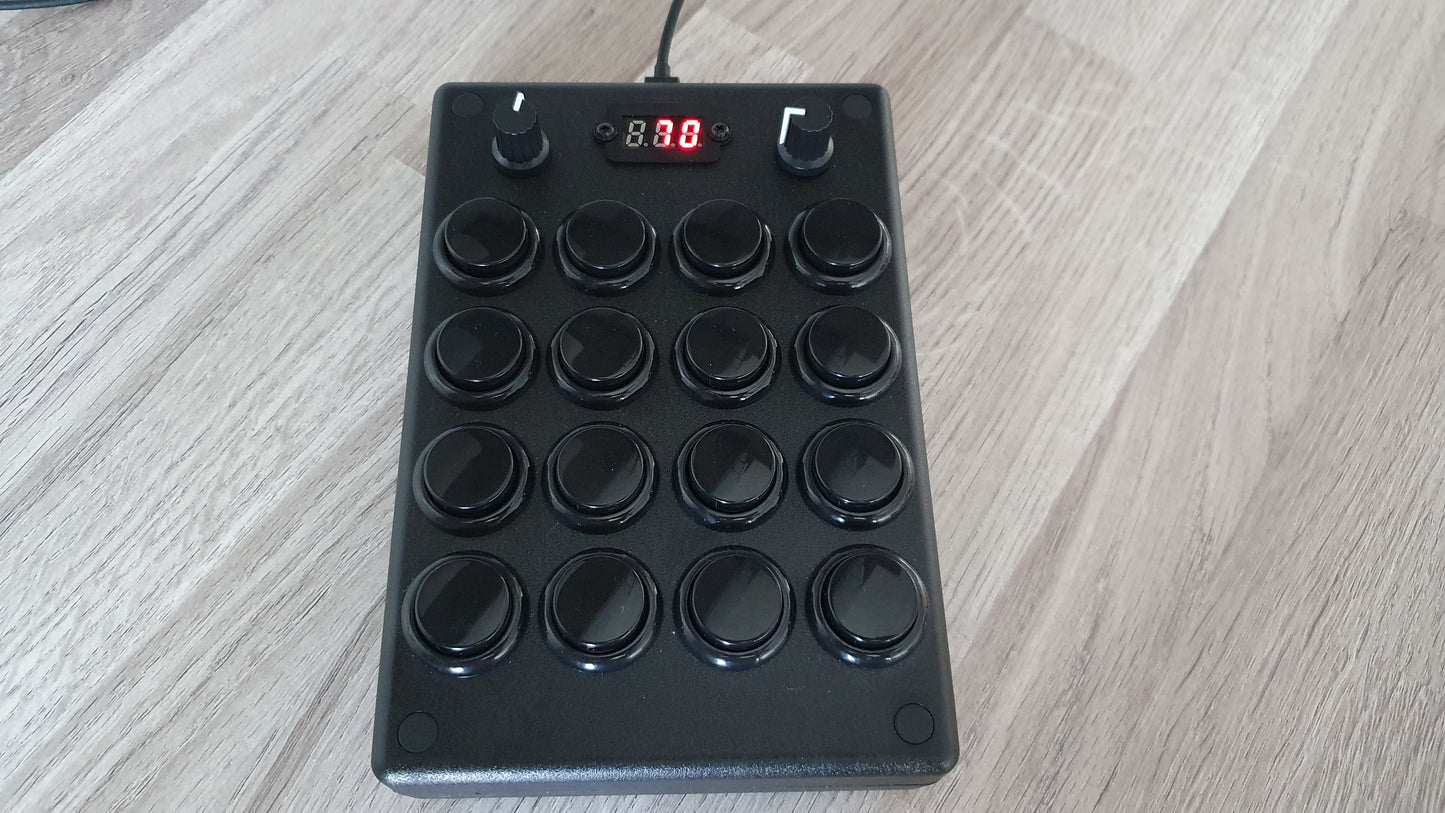


16 arcade buttons 2 knob
and needs to be plugged into a USB port or a USB plug socket (phone charger plug)
when used with a DAW only set the controller as an input device and not as an output device
Setting the Control change number of a Knob
To set the CC# that a knob controls press and hold the small button located on the USB side of the box and the display will show "CC-"
Now move the knob you want to change to the number of the CC you want it to control,
then let go of the button and the display will show 'CC-' then flash the new CC number of that knob/fader,
Example
The cc# number is currently set to 11- expression and you would like to change it to cc number 74- frequency cut off (filter) you would hold in the small button on top of the box and move the knob until the display shows number 74, you would then release the small button and the display will show CC- then flash 74 and the cc of that knob is now set to 74.
Tip: If you find it difficult to stop on the exact number, for example you are trying to stop on 10 but it only changes between 9 and 11 go to 30+ then back down and you should be able to stop on 10.
Setting the Control change, Program change or note number of a Button
The button control change number, program change number and note number is set the same way the knob cc# is set but you press the button you want to change the number of after moving a Knob,
Press and hold the small button located on the top of the box, the display will show "CC-"
then move a knob to the number value then press the button you want to change the number to,
Then let go of the small button and the display will show “but“ then either “CC-” “pc” or “note” then flash the new CC/PC/note number of that button,
The Program Change value is 0 to 127 some devices see this as 1 to 128
Changing all the knob and button channel numbers (1-16)
The channel is changed the same way the cc# is changed but you press the small button TWO times and keeping the button held in on the 2nd press and the display will show “CHA” (channel all) now move any knob to the number of the channel you want all the knobs and buttons to be set to
Then let go of the small button and the display will show “cha” and the new channel number
Changing the channel of only one knob (channel numbers 1-16)
changing just one knob channel is done the same way as all the channels but you press the small button three times and keep the button held in on the 3rd time and the display will show “CHI” (channel Independent) now move a knob to the number of the channel you want that knob to be set to
Then let go of the small button and the display will show “C” and the new channel number of only that knob
Changing the channel of only one button (channel numbers 1-16)
Changing just one button channel is done the same way as changing a knob channel but you press the button you want to change after moving a knob,
Press the small button FOUR times and keep the button held in on the 4th time and the display will show “CHI” (channel Independent) then move a knob to the number of the channel you want the button to be set to then press the button you want to change the channel of
Then let go of the small button and the display will show “C” (Channel) and the new channel number of only that button
Changing the buttons to Control Change , Program Change or note on/off
Press the small button four times and keep the button held in on the 4th time and the display will show “but” (button)
now move a knob all the way to the left and the display will show “not” for note or all the way to the right the display will show “pc” for program change or move the knob to the centre and the display will show “CC-” for control change now press the button(s) you want to change the function of then release the small button
Changing the buttons function from Toggle to Momentary
Toggle button: Button pressed = on then button pressed again = off
Momentary: Button is on when held in then off when released
the ON value is 127 and the OFF value is 0
Press the small button five times and keep the button held in on the 5th time and the display will show “to9” (toggle)
move a knob all the way to the right to turn toggle on or all the way to the left to turn toggle off
then press the button you want to turn toggle on/off then release the small button and the display will show to9 then on or off