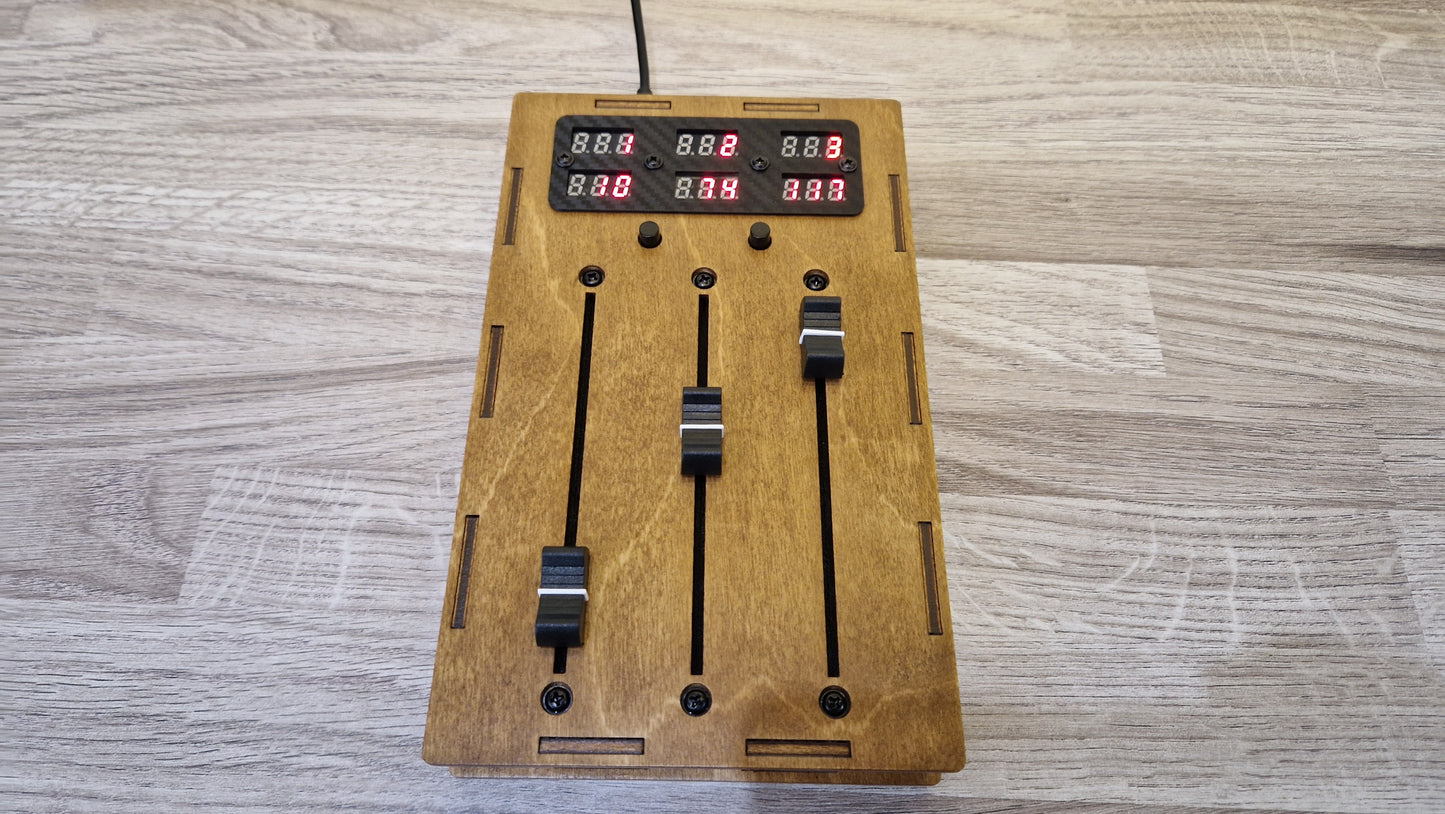
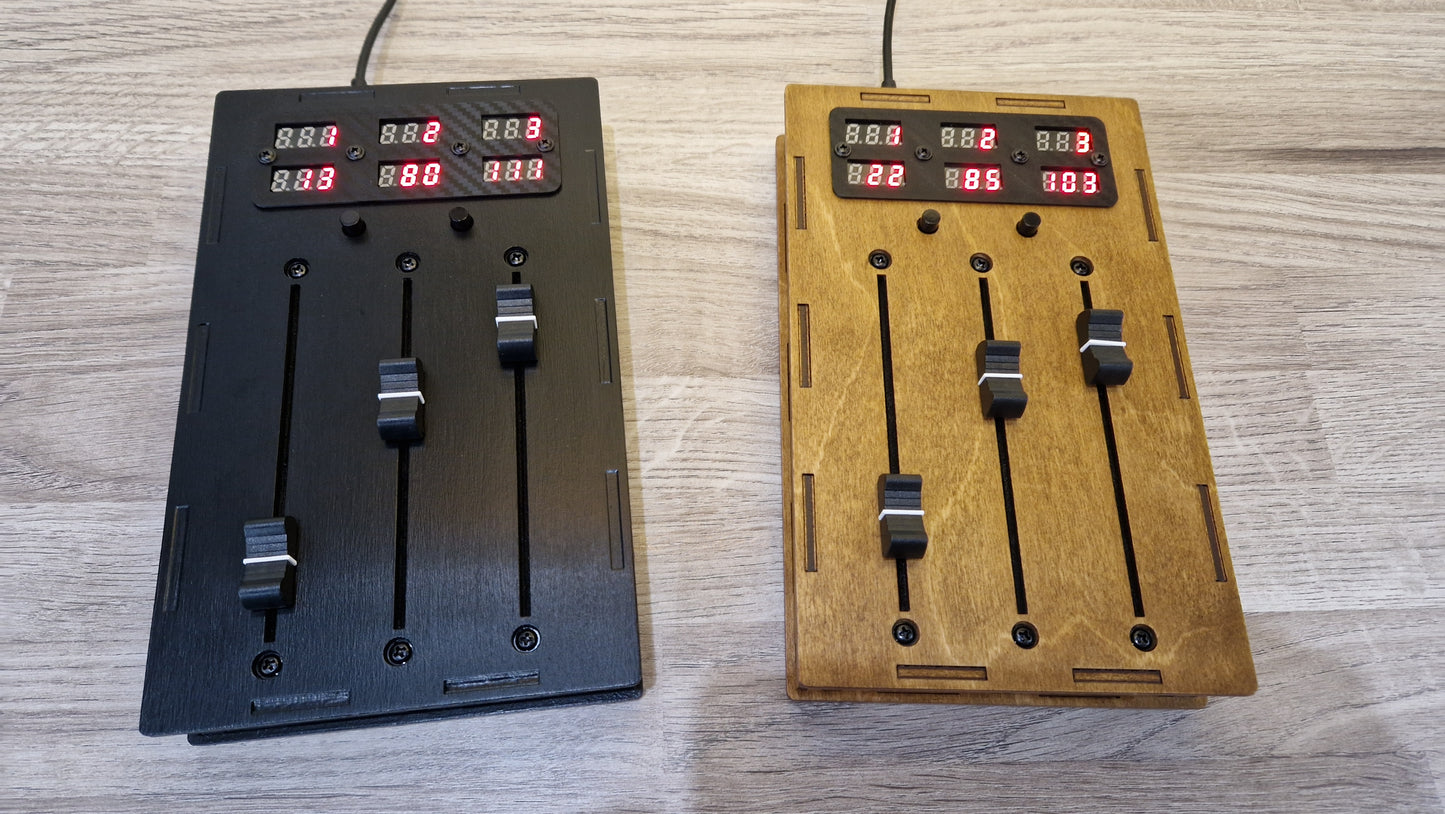
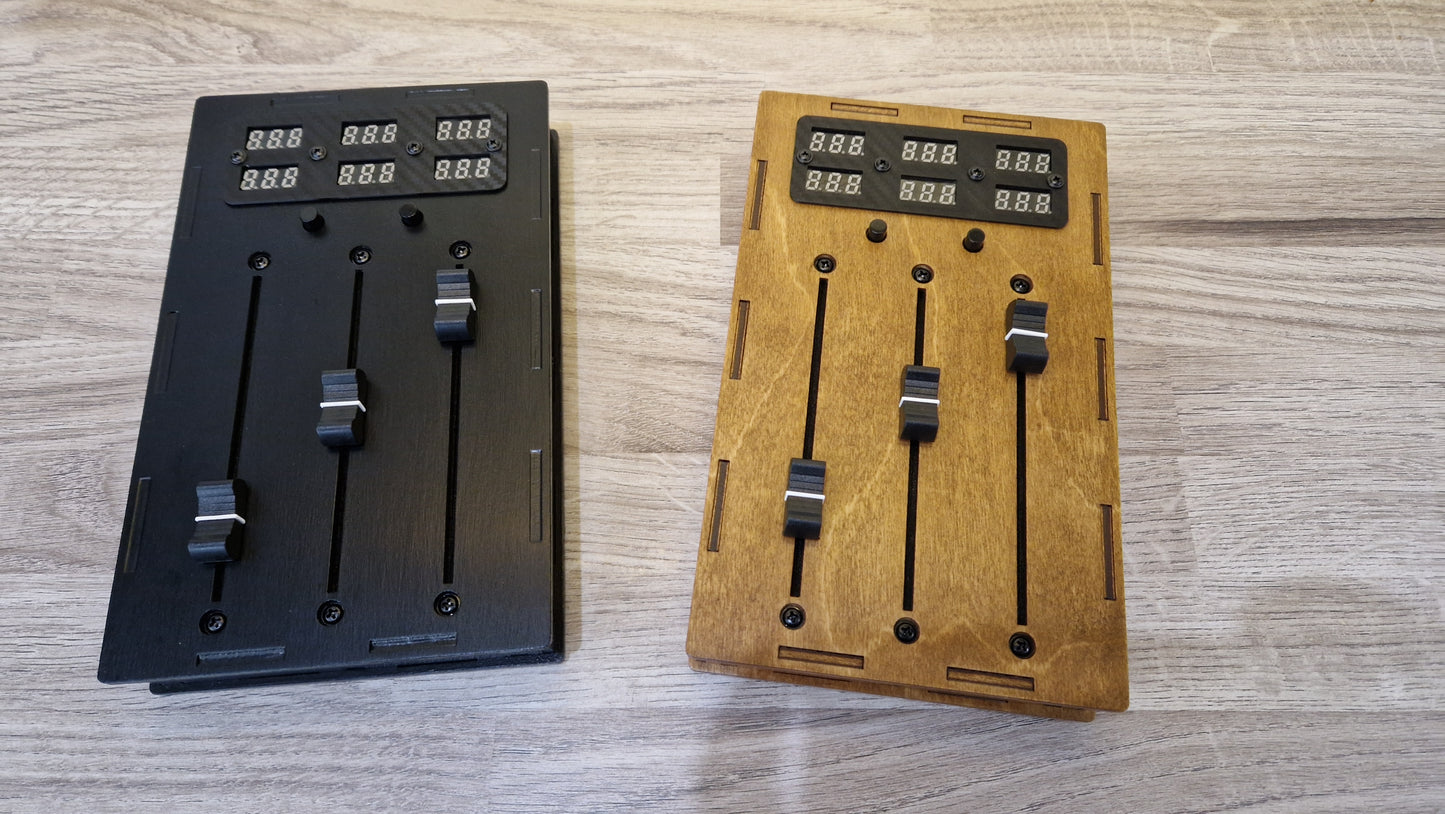
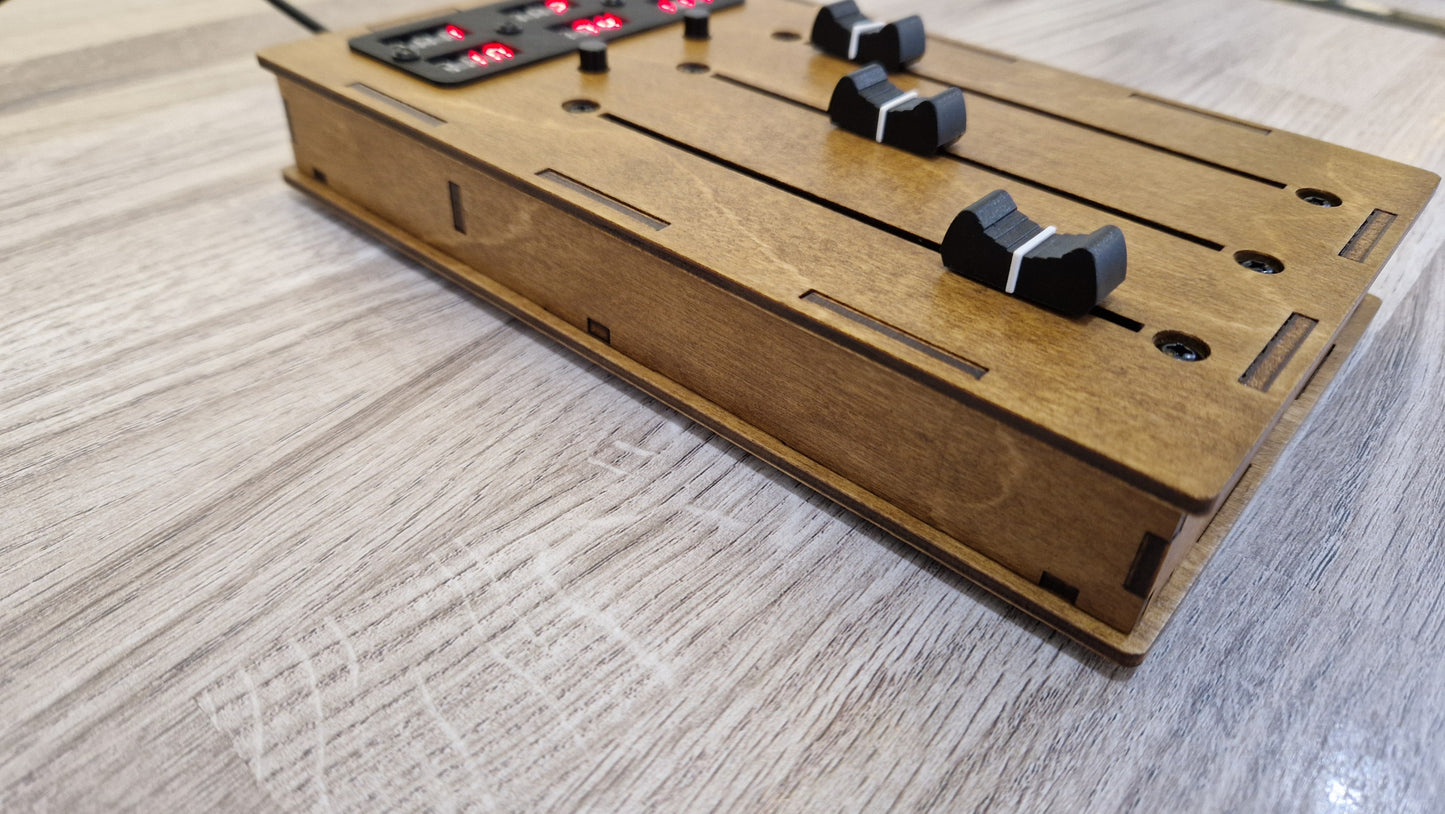
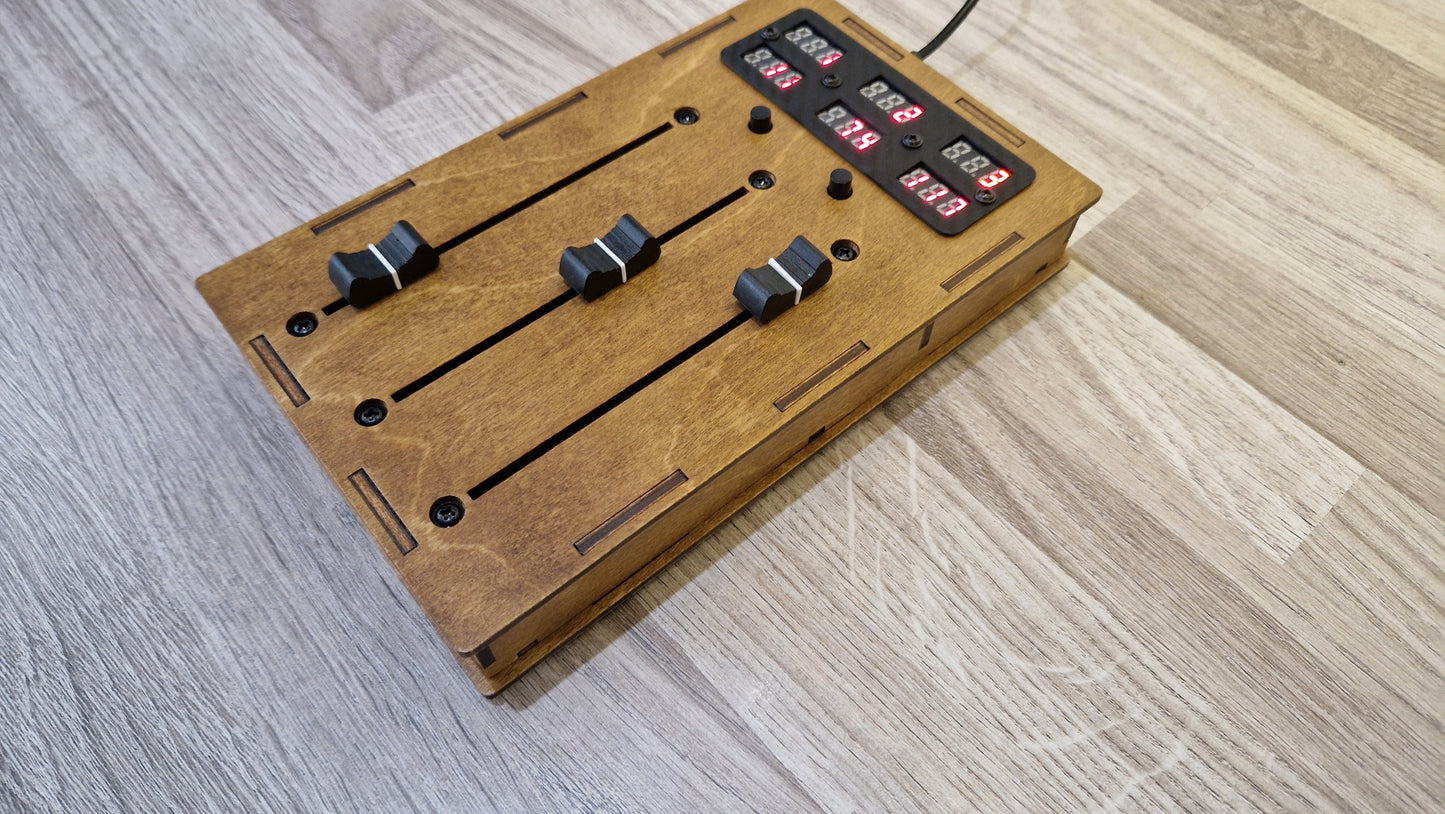
3 Fader 6 LED displays
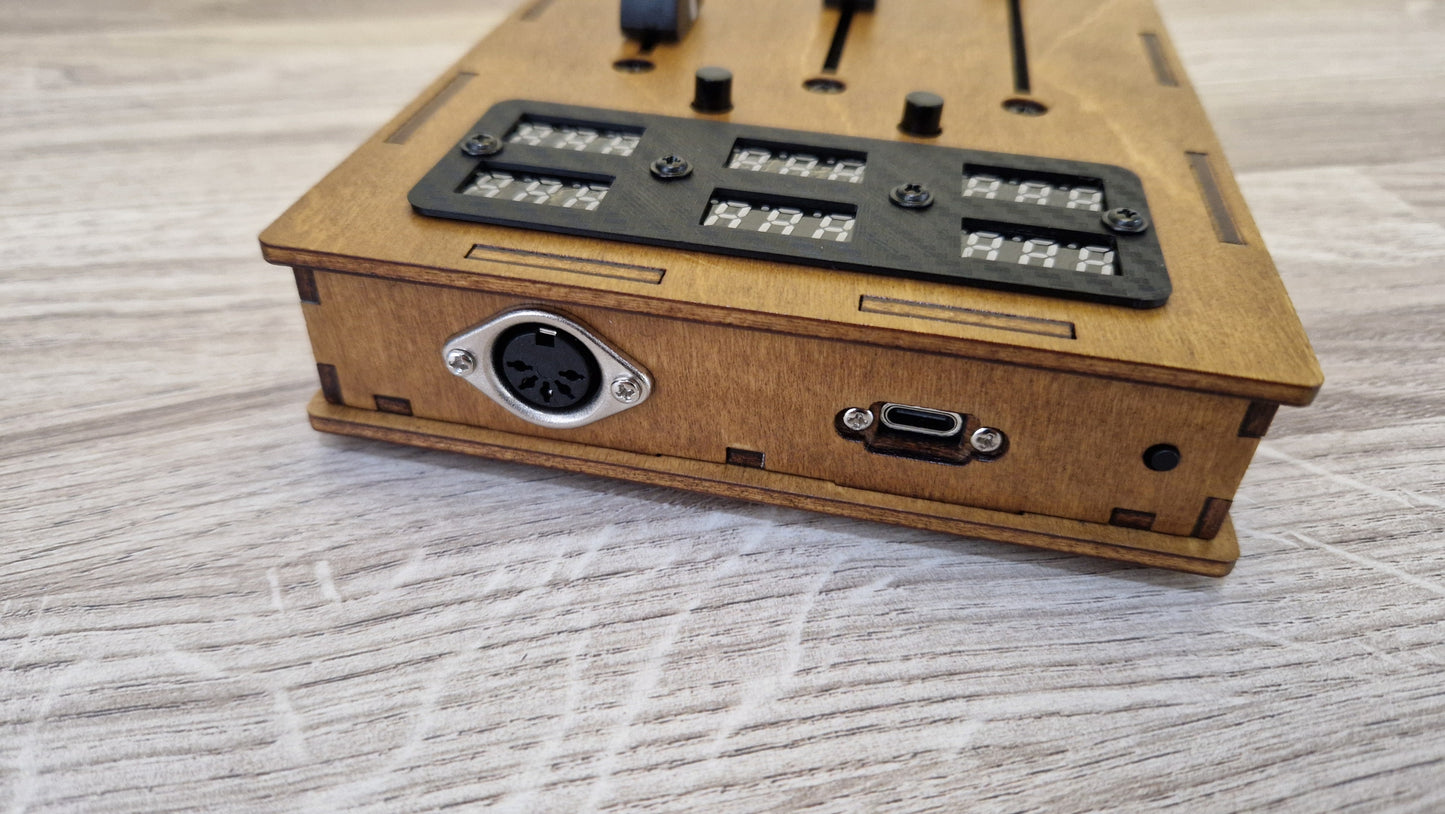
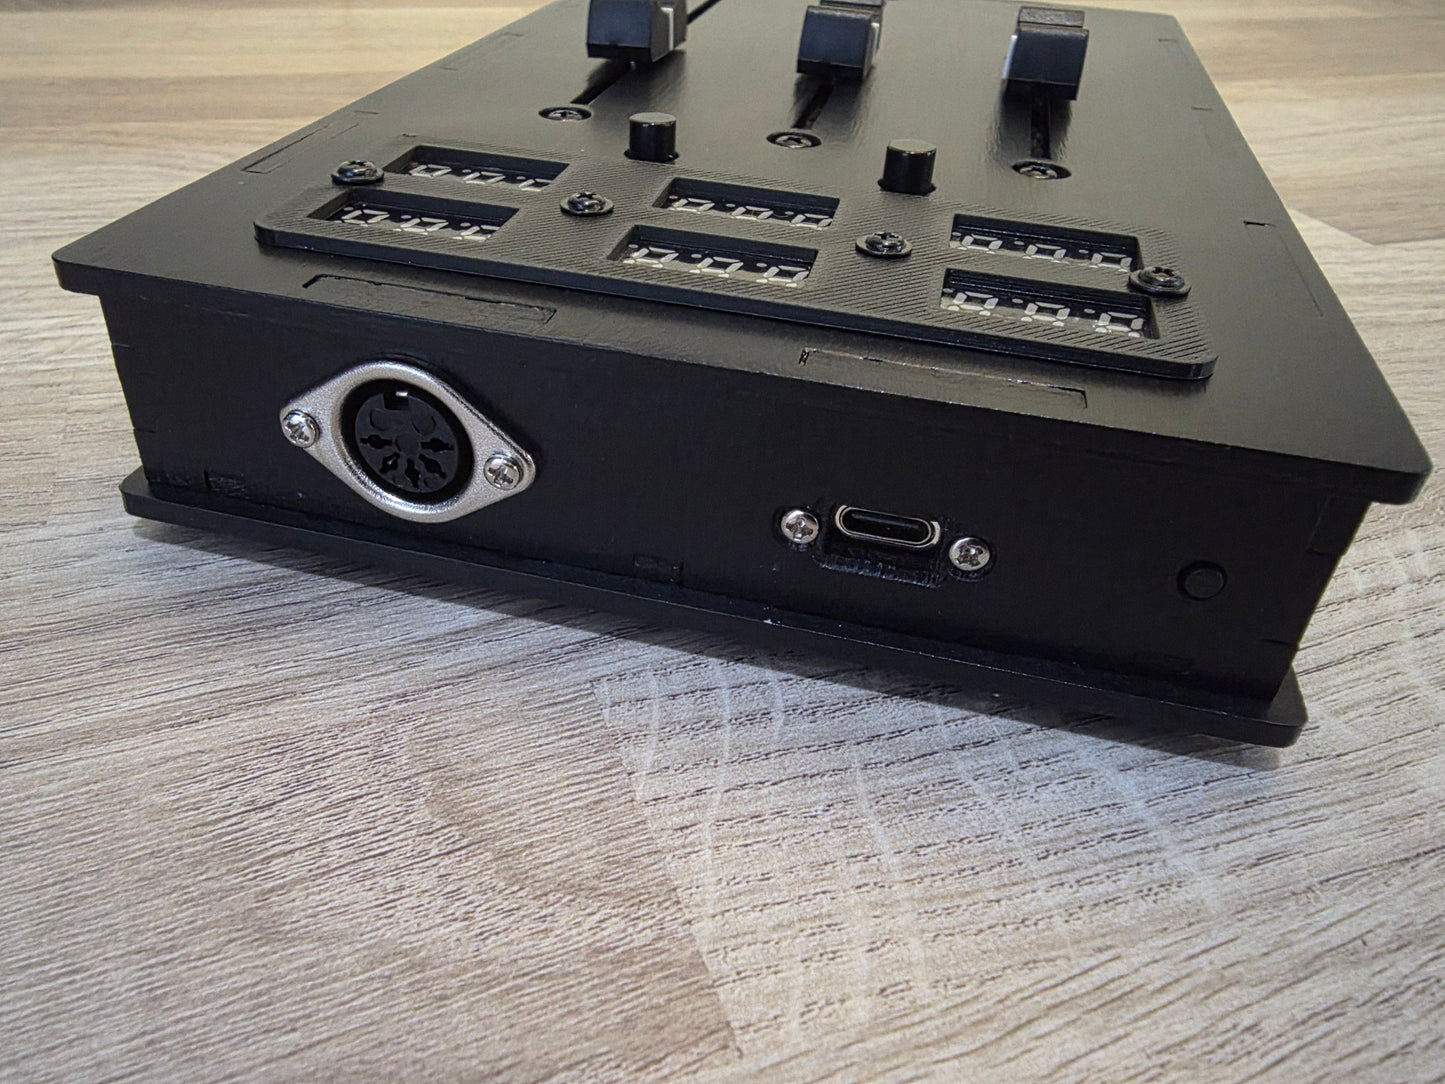
The USB cable is for USB MIDI but is also needed to power the controller when using the 5 Din socket and need to be plugged into a USB port or a USB plug socket (phone charger plug)
When used with a DAW only set the controller as an input device and not as an output device
The controller has 6 LED displays, the top 3 show each fader CC number and the bottom 3 show each fader CC value.
Setting the CC number
To set the CC# that a fader controls press and hold the small button located on the USB side of the box,
(the top 3 displays will show "CC-" and the bottom 3 will show the current set fader CC numbers)
to change the fader(s) cc number move the fader you want to change to the number of the CC you want it to control,
then let go of the button and the top displays will show 'CC-' then flash the CC numbers of the faders,
Example
the cc# number is currently set to 11 - expression and you would like to change it to cc number 74 - frequency cut off (filter) you would hold in the small button located on the USB side of the box and move the fader until the display shows number 74, you would then release the small button and the display will show CC- then flash 74 and the CC of that fader is now set to 74.
Tip: when changing the cc If you find it difficult to stop on the exact number, for example you are trying to stop on 10 but it only changes between 9 and 11 you can use the preset buttons to increase and decrease the number by 1,
pressing the left button will decrease by -1, and pressing the right button will increase by +1.
Changing all the fader channel numbers (1-16)
The channel is changed the same way the cc# is changed, but you press the small button TWO times and keeping the button held in on the 2nd press, the top 3 displays will show “CHA” (channel all) and the bottom 3 will show the current set channel.
to change the channel of all the faders in the current preset, move any fader to the number of the channel you want all the faders to be set to, then let go of the small button and the display will show “c” and the new channel number.
Changing the channel of only one fader (channel numbers 1-16)
changing just one fader channel is done the same way as all the channels but you press the small button three times and keeping the button held in on the 3rd press, the top 3 displays will show “CHI” (channel Independent) and the bottom 3 will show the current set fader channel.
to change the channel of a fader move the fader(s) to the number of the channel you want the fader to be set to, then let go of the small button and the display will show “c” and the new channel number.
Changing the high range of a fader (1-127)
Press the small button four times and keep the button held in on the 4th press, the display will show “HI” (high)
and the bottom 3 will show each faders currently set high range, to change a faders high range move it to the number you want it set to, then let go of the small button and the top 3 LED displays will show “HI” and flash the new high range of the faders.
Changing the Low range of a Fader (0-126)
Press the small button Five times and keep the button held in on the 5th press, the top 3 displays will show “LO” (low)
and the bottom 3 will show each faders currently set low range, to change a faders low range move it to the number you want it set to, then let go of the small button and the top 3 LED displays will show “LO” and flash the new low range of the faders.
Changing a fader to output Pitch bend
Press the small button Six times and keep the button held in on the 6th press, the top 3 displays will show “Ptb” (pitchbend)
and the bottom 3 will show if pitchbend is ON of OFF, to turn pitchbend ON move the fader up all the way to the top, to turn pitchbend OFF move the fader down all the way to the bottom, then let go of the small button and the top 3 LED displays will show “ptb” and flash ON or OFF, if pitchbend is on the top fader LED will now show Ptb instead of the CC#.
Changing the preset (1 to 5)
To increase the preset press the RIGHT button under the LED displays, to decrease the preset press the LEFT button under the LED displays, increasing above preset 5 will loop back to preset 1, decreasing bellow preset 1 will loop to preset 5.
(changing the CC, channel, range etc. while in a preset will automaticity be stored to that preset).
if you find it difficult to stop on the exact number when setting the cc number you can use the preset buttons to increase and decrease the number, pressing the left button will decrease by -1, and pressing the right button will increase by +1
changes made in a preset are automaticity saved to that preset.
Reset controller to default settings
Hold the small button located on the USB side of the controller while plugging in the USB cable, the 6 LED displays will show “set” now let go of the small button, all setting will now be back to the default factory settings.